5. Sharing
Share a project or a proof to collect reviews. Reviewers do not need a GoVisually account.
5.1 Share a project with reviewers
- Open the project and select "Share". The "Share project with reviewers" window opens.
- The window has two tabs: "Invite" and "Options".
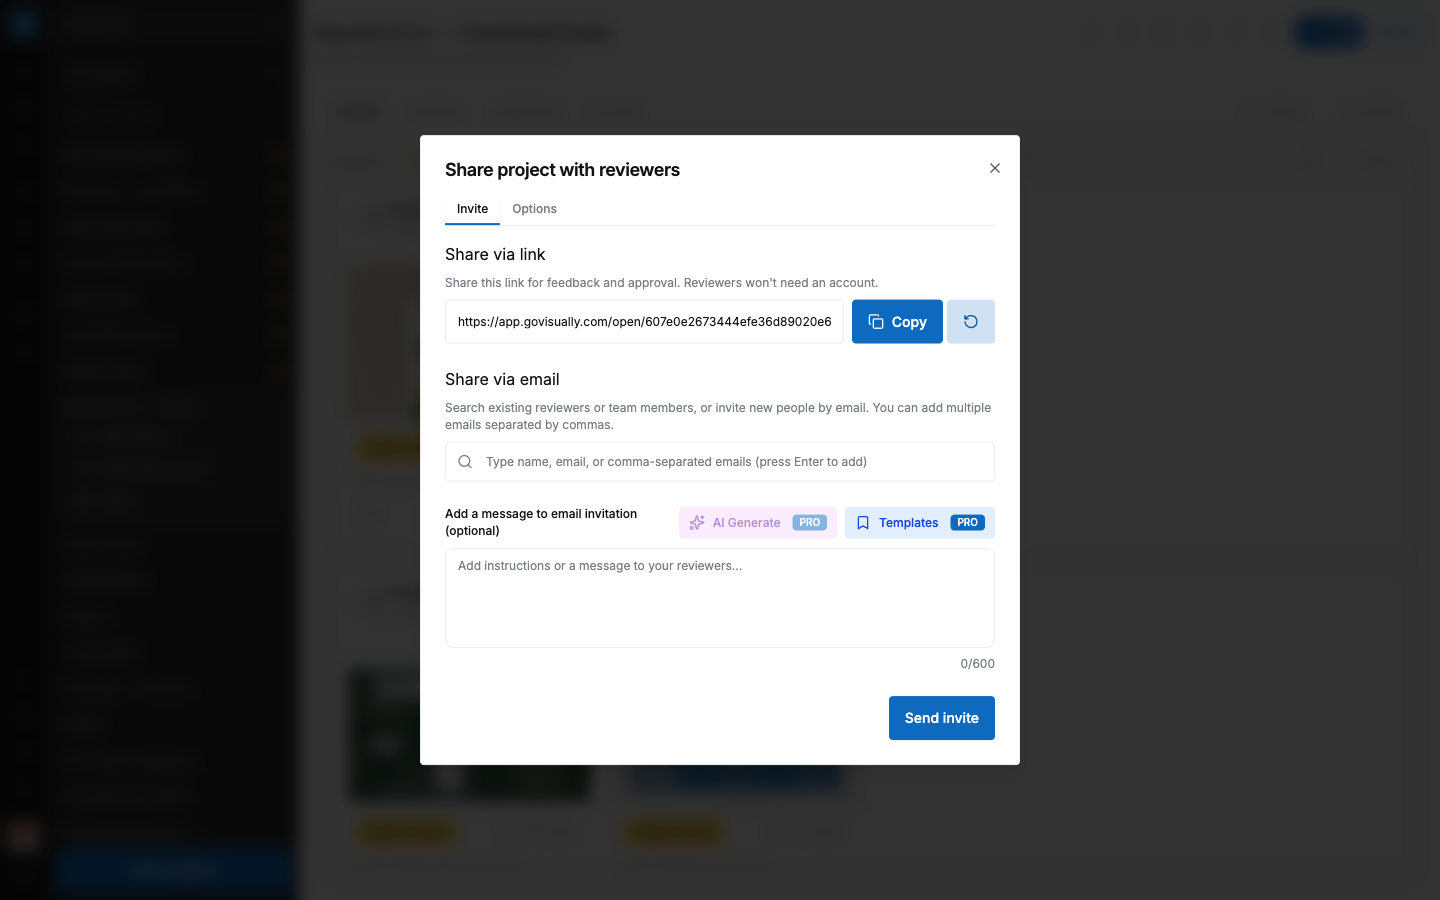
Share via link
- On the "Invite" tab, find "Share via link".
- Select "Copy". The button changes to "Copied".
- Send the link to your reviewers.
Anyone with the link can open the project, view proofs, and comment. Reviewers who sign in are added to the project as reviewers.
The link never expires. To cut off access, select the regenerate button. The confirmation explains: "Users who have the existing link will no longer have access." Confirm with "Regenerate share link".
Share via email
- On the "Invite" tab, find "Share via email".
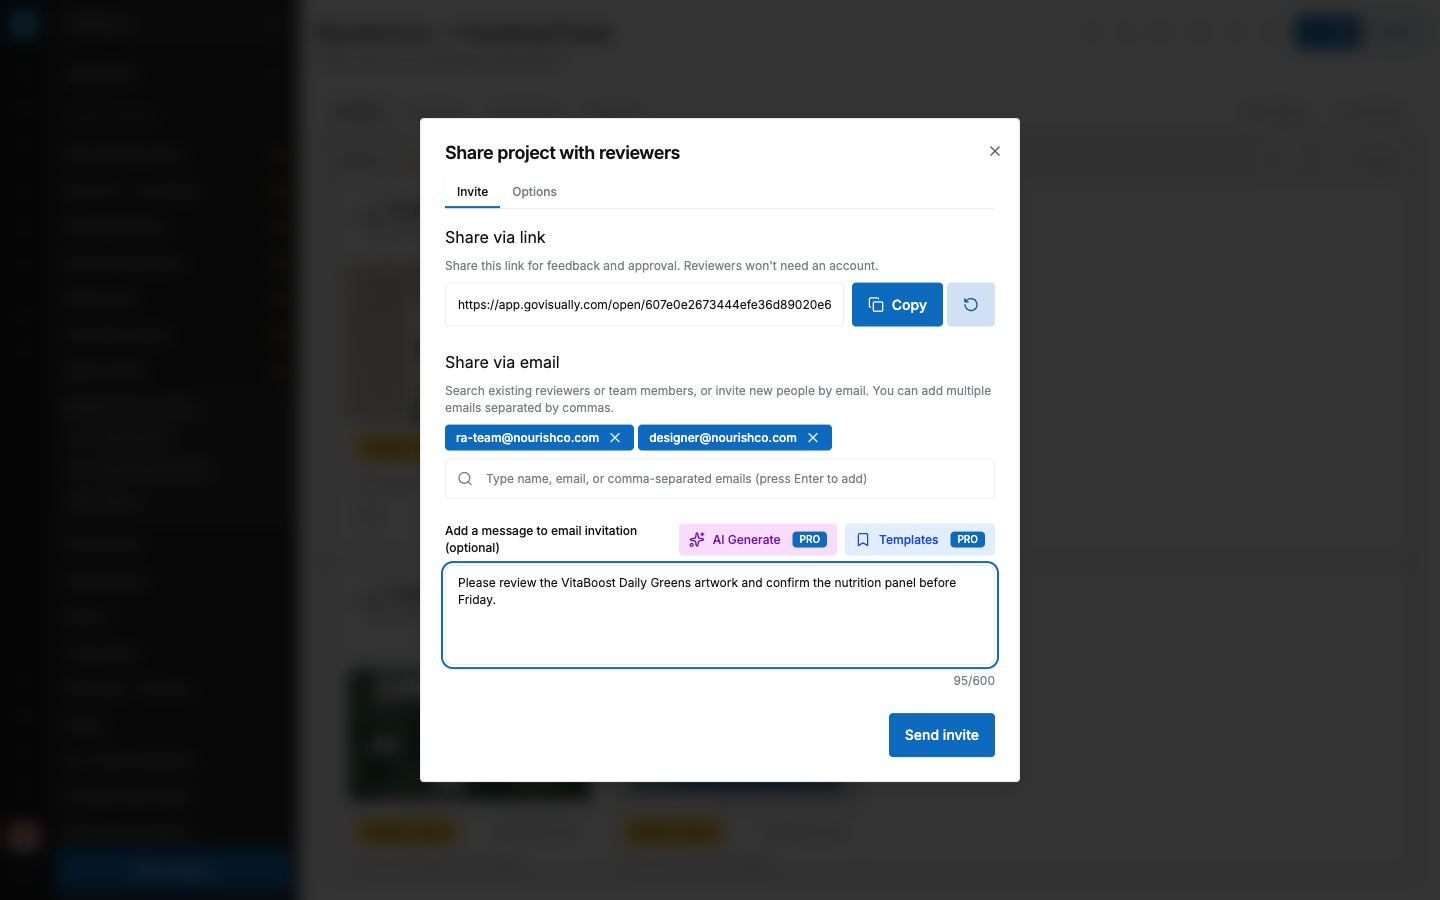
- Enter addresses in the field: "Type name, email, or comma-separated emails (press Enter to add)". You can add up to 20 addresses at once.
- Suggestions are labeled "Team Member", "Existing Reviewer", "Pending Reviewer", "New Reviewer", or "Already Added".
- Optional: "Add a message to email invitation (optional)". Write instructions in the text field.
- Optional: select "Templates" (Pro plans) to reuse a saved message. Built-in templates: "First review request", "Urgent review", "Final approval". You can save your own with "Save current as template" (maximum 10 templates).
- Optional: select "AI Generate" (Pro plans) to draft the message with AI.
- Select "Send invite". Each person receives an email invitation to review.
Email invitations are for paid accounts. Trial accounts see: "Email invitations are available for paid accounts."
Passcode protection
- Open the "Options" tab.
- Turn on the protection switch. You see "Passcode protection enabled".
- Enter a code in the "Passcode" field. You see "Project password set".
Everyone who opens the share link must now enter the passcode. Share the passcode in a separate channel from the link. Treat the passcode as simple access control, not as strong security.
5.2 Share one proof
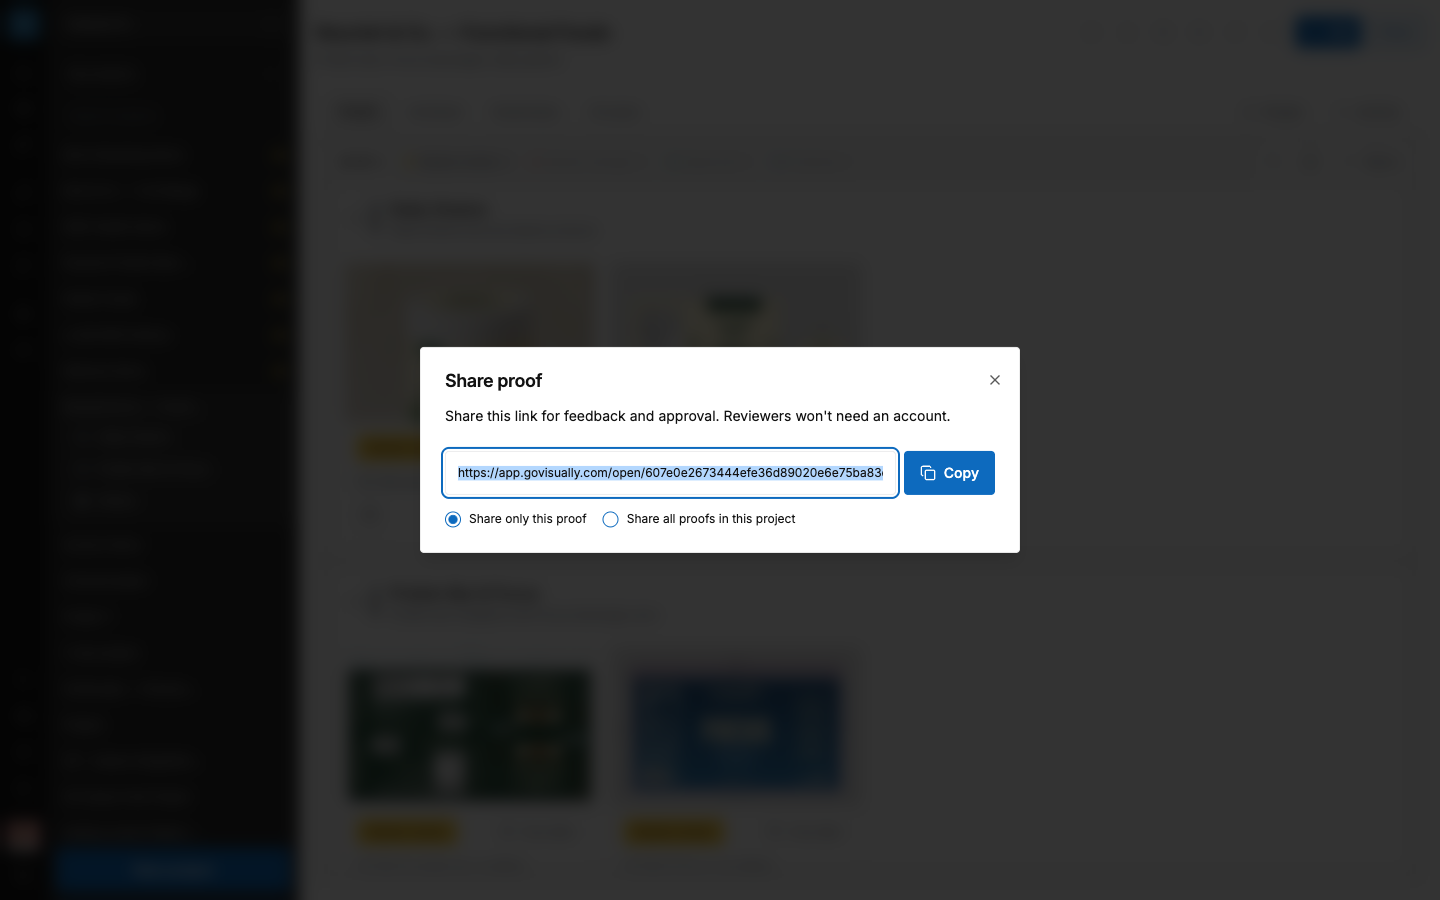
- Open the proof card menu and select "Share". The "Share proof" window opens. It explains: "Share this link for feedback and approval. Reviewers won't need an account."
- Choose the scope: "Share only this proof" or "Share all proofs in this project".
- Select "Copy" and send the link.
5.3 Share a section
- Open the section menu and select "Share section".
- Select "Copy" and send the link.
5.4 What reviewers can and cannot see
- Reviewers see the proofs in the shared project, except proofs inside private sections.
- Reviewers never see private team comments.
- Reviewers do not see the "Smartnotes" and "AI scans" tabs.
- Reviewers can comment and give decisions. They cannot upload, edit, move, or finalize.
- The number of reviewers per project may be limited by your plan. When the limit is reached, new people cannot join through the link.
- Some plans restrict invitations to reviewers from your own email domain. If so, you see: reviewer domain not allowed.
5.5 Control downloads and watermarks
Two workspace settings protect shared artwork. Both are described in chapter 11:
- Download lock — block downloads for all revisions or allow only finalized revisions.
- Watermark — apply a watermark image or text to viewed proofs.
5.6 Good practice for CPG teams
- One share link per project. Regenerate it when a review round ends, so old links stop working.
- Use email invitations for RA and external agencies. Then you can track each person's decision by name in the review status list.
- Put confidential SKUs in private sections before sharing a project link. Private sections stay hidden from the link.
- Add a passcode for pre-launch artwork.