4. Review and approval
This chapter is for everyone who reviews artwork: marketing, RA, R&D, and external reviewers.
4.1 The review screen
Open a proof to enter the review screen.
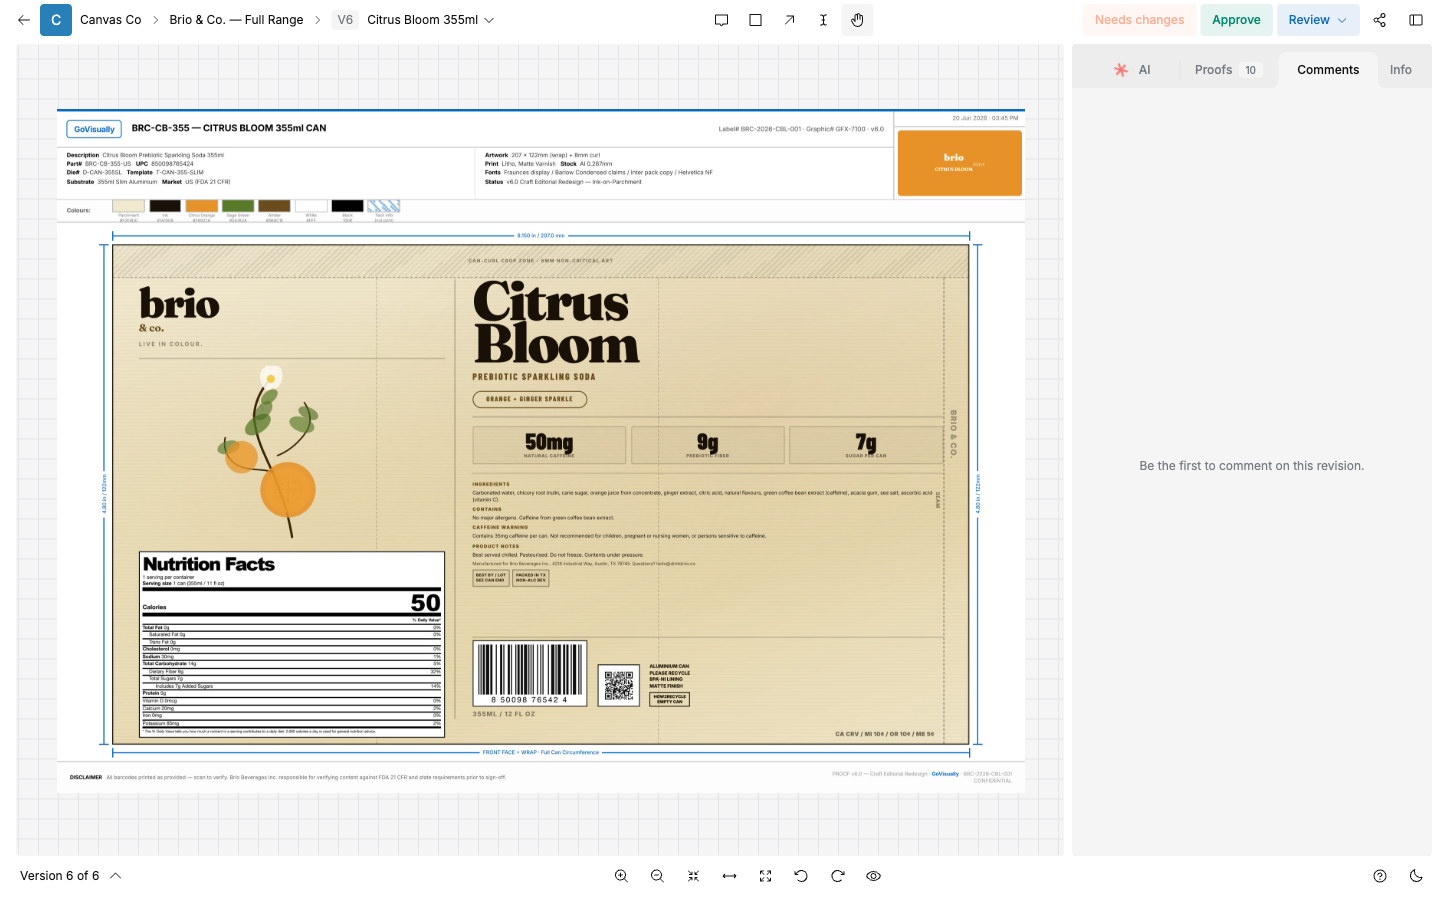
Main areas:
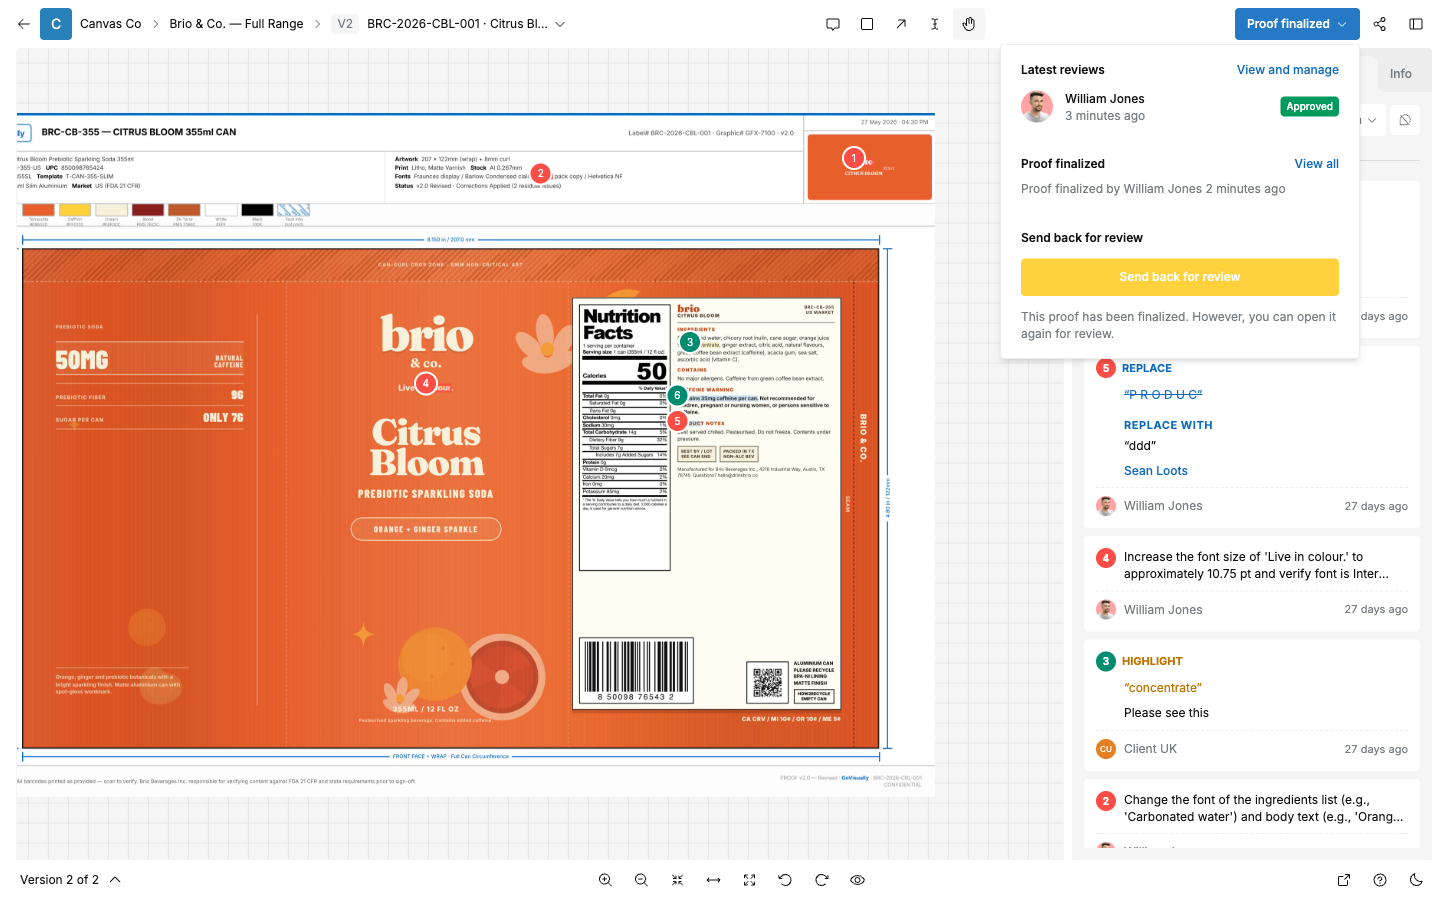
- Center: the artwork. Zoom and pan to inspect it.
- Toolbar: the version number (for example "V2"), the annotation tools, and the decision buttons.
- Right panel: comments and proof information.
- Actions toolbar: "Download file" and "Export and print comments".
4.2 Annotation tools
Use the annotation tools to point at the exact spot you mean:
| Tool | Use it to |
|---|---|
| "Comment" | Pin a comment to one point. |
| "Box comment" | Draw a rectangle around an area. |
| "Arrow comment" | Draw an arrow to a detail. |
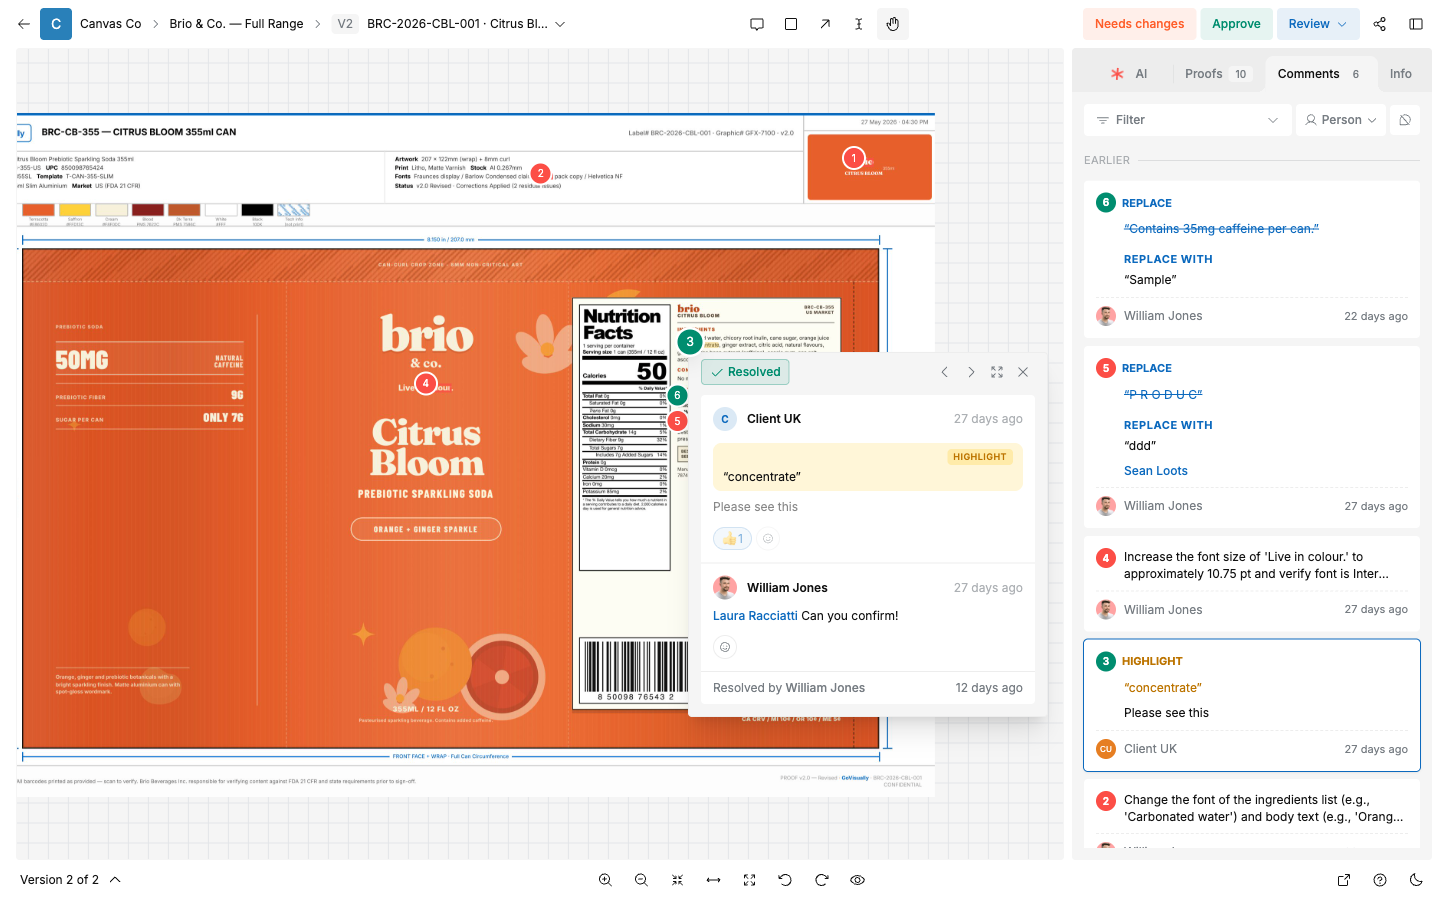
| "Text highlight" | Select text on a PDF and comment on it. PDF proofs only. Useful for ingredient lists and claims. |
| "Pan" | Move around the artwork without commenting. |
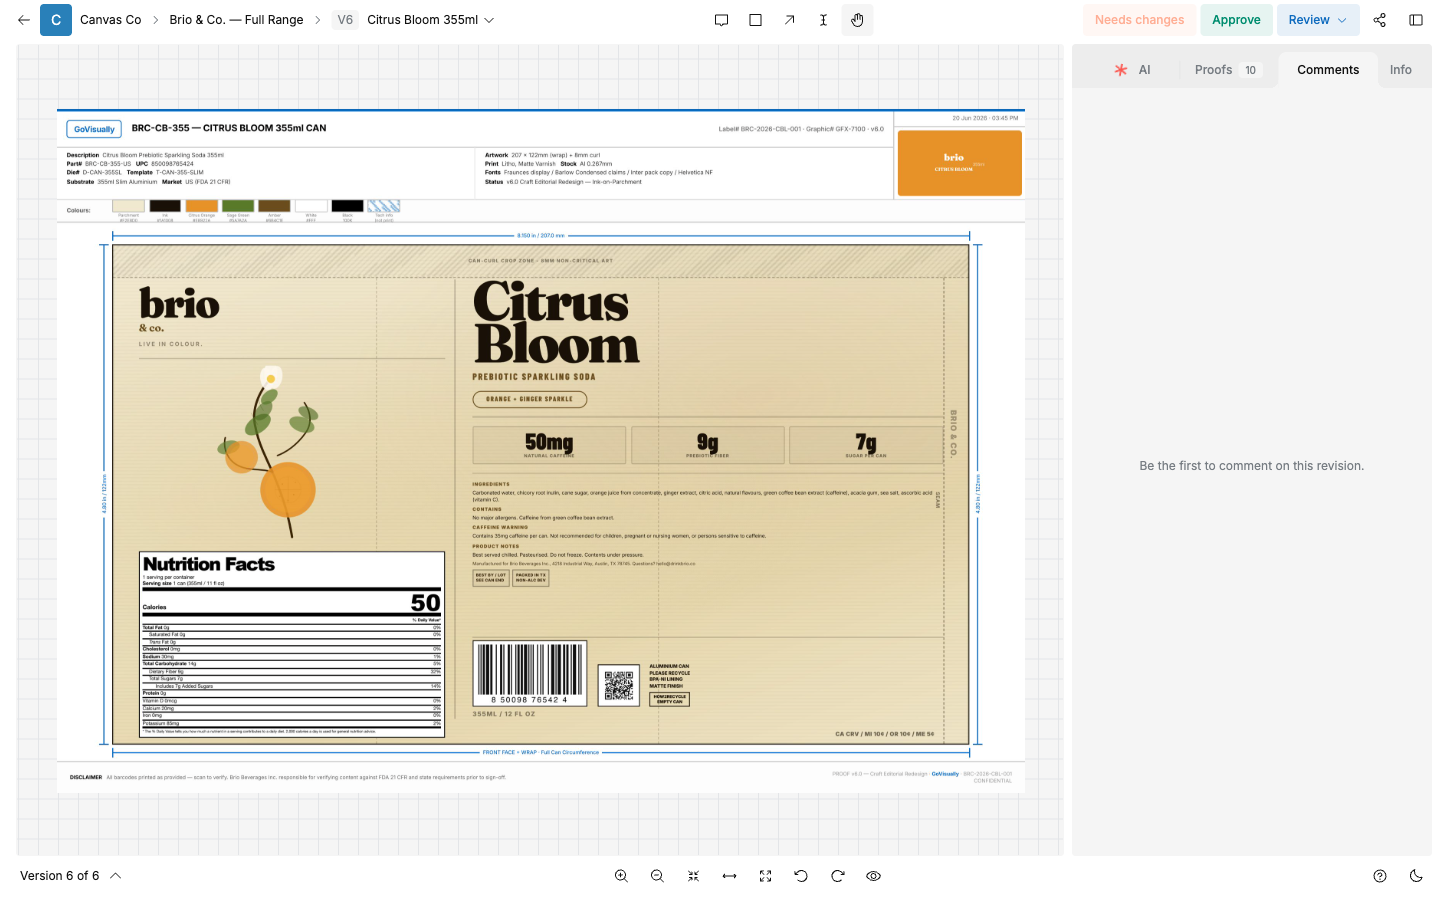
4.3 Comments
- Select an annotation tool.
- Mark the spot on the artwork.
- Type in the "Add a comment…" field.
- Optional: type @ and a name to mention a person. Mentioned people are notified.
- Optional: select "Attach file" to add a reference file.
- Send the comment.
More about comments:
- Reply to a comment to keep the discussion in one thread.
- Add emoji reactions to comments.
- Mark a thread as "Resolved" when the issue is fixed. The thread shows who resolved it and when.
- On video proofs, comments attach to a timestamp and frame.
- Workspace members can make a comment private. Private comments are visible to workspace members only. Reviewers never see them. Use private comments for internal discussion.
4.4 Make your decision
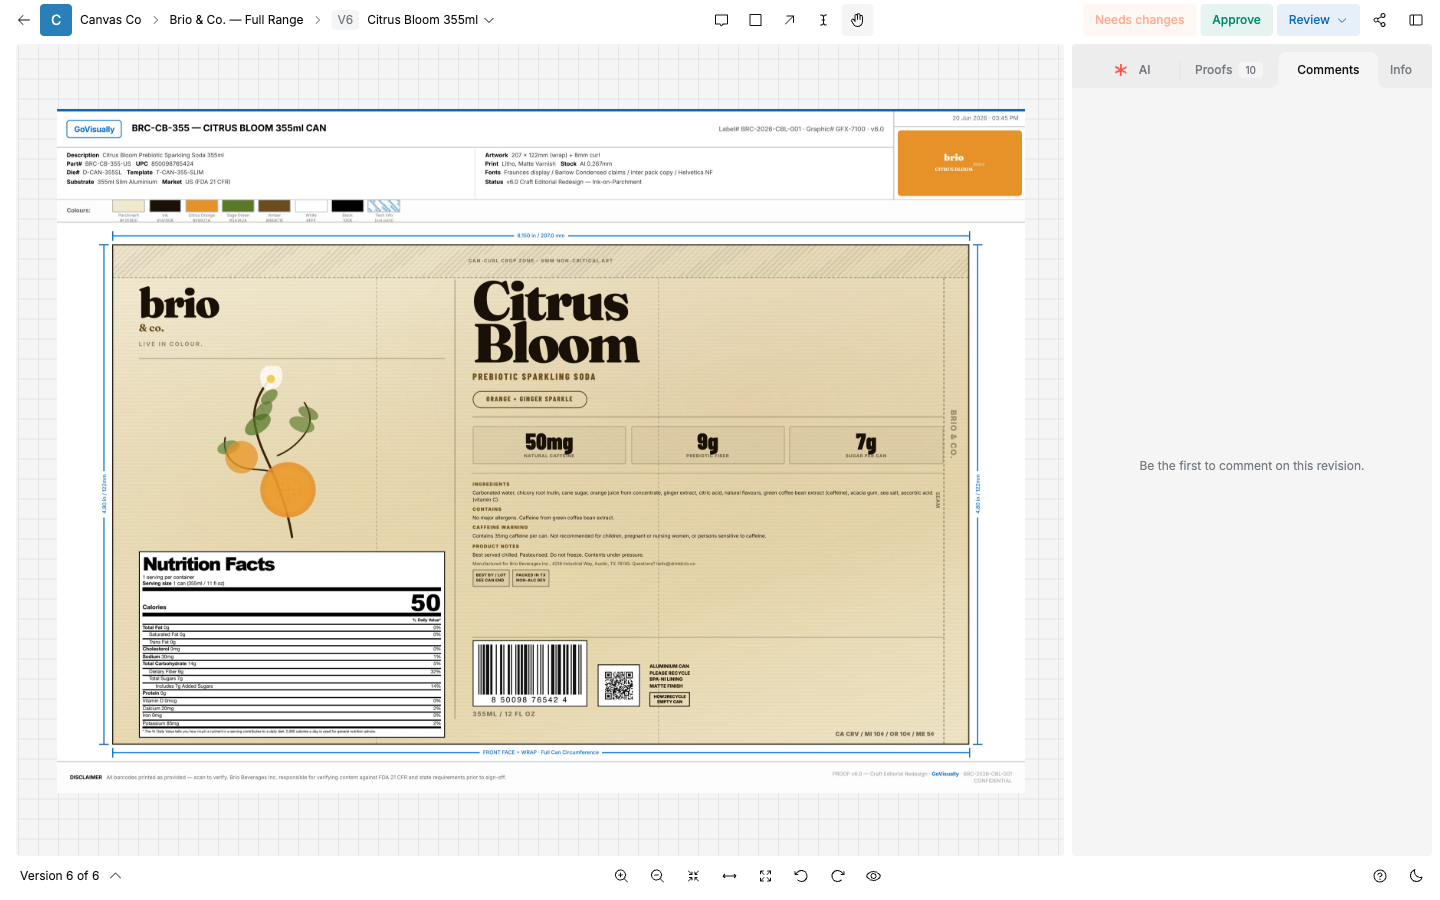
Every reviewer gives one decision per version. There are exactly two decisions:
- "Approve" — the artwork is correct and ready.
-
"Needs changes" — the artwork has problems. You must add at least one comment first. If you have not commented, the button shows: "Add at least one comment to request changes".
-
Review the artwork and add your comments.
- Select "Approve" or "Needs changes" in the toolbar.
- Your decision is saved for this version. You can change your decision later, while the proof is not finalized.
There is no "approve with comments" decision. If small fixes are needed, choose "Needs changes" and list them, or agree in comments and approve the corrected version.
Approval checklist
Your workspace may require a checklist before approval. If so, selecting "Approve" first opens the checklist. Confirm every item to complete your approval. Admins set the checklist up in "Team settings" → "Approval checklist" (see chapter 11).
For RA teams, the checklist is a good place for mandatory checks. Example items: regulatory text verified, nutrition panel matches the current specification, allergen statement correct.
4.5 Proof status
Each proof card shows one status:
| Status | Meaning |
|---|---|
| "Needs review" | No decisions yet on the latest version. |
| "Approved" | At least one reviewer approved, and nobody requested changes. |
| "Needs changes" | At least one reviewer requested changes. This status wins over approvals. |
| "Finalized" | The proof owner closed the review. The proof is locked. |
Important: "Approved" does not lock the proof. Reviewers can still comment and change decisions until the proof is finalized. One request for changes outweighs any number of approvals.
4.6 Track reviewer progress
Open the review status panel from the proof:
- "Latest reviews" (or "Review status" before any decisions are in) shows recent decisions. Select "View and manage" (or "View all") for the full list — the exact label depends on the proof's state.
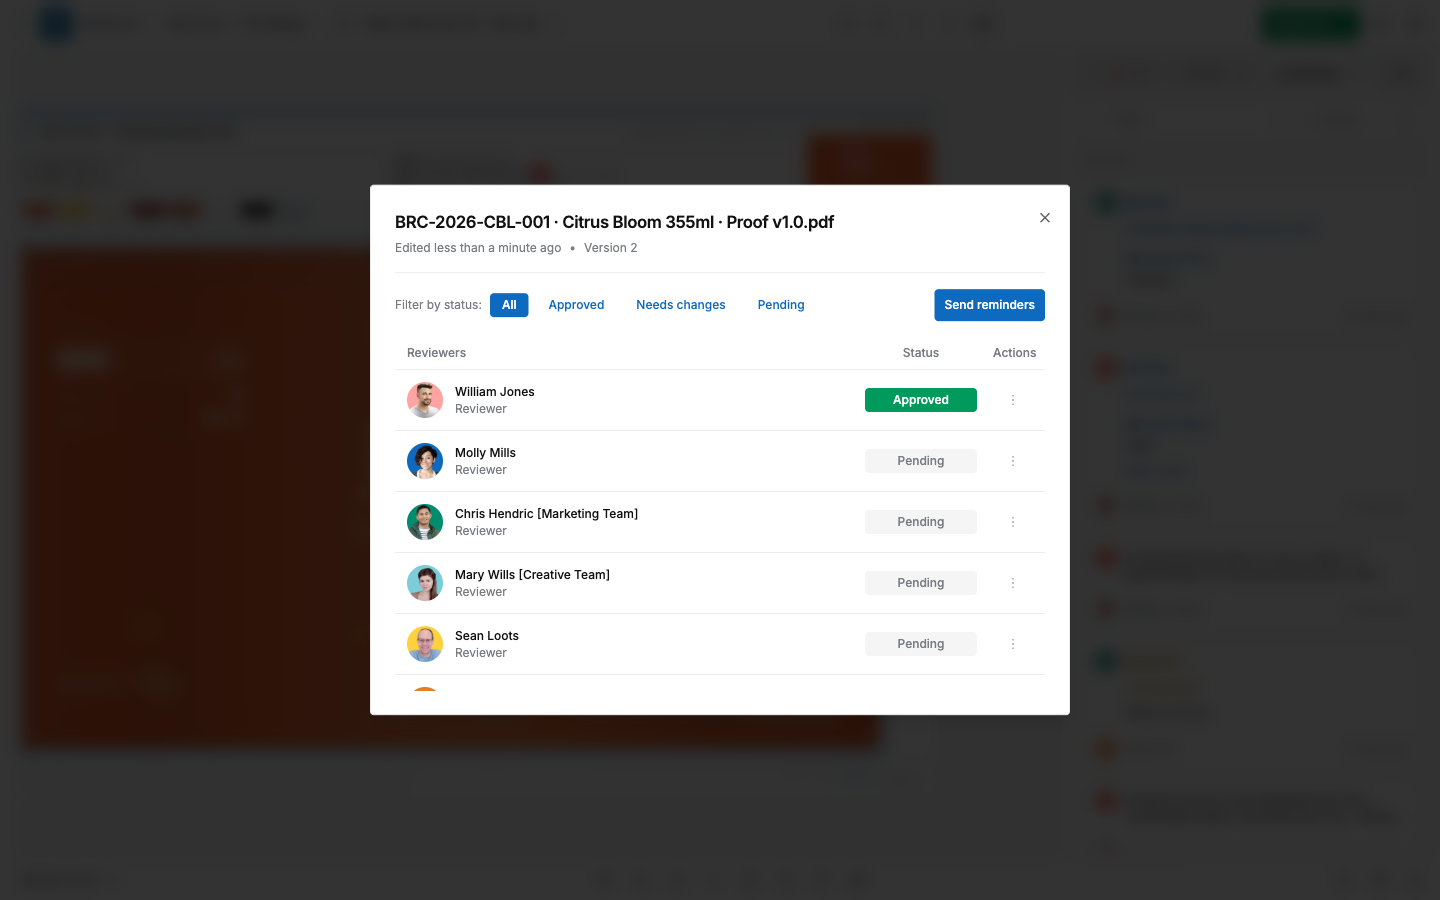
- The full list shows columns "Reviewers", "Status", "Actions". Each person shows "Approved", "Needs changes", or "Pending".
- Filter with the chips "All", "Approved", "Needs changes", "Pending".
- Select "Send reminders" to nudge every pending reviewer at once.
- Admins can select the row menu ("⋮") to manage an individual reviewer's decision.
4.7 Finalize a proof
Finalizing closes the review. Only workspace members can finalize. The panel explains: "As a proof owner, you can finalize this proof. No further action can be taken by reviewers once finalized."
- Open the review status panel.
- Select "Finalize this proof".
- You see the message "Proof finalized".
After finalizing:
- Nobody can approve, request changes, or add versions.
- The status becomes "Finalized".
- The finalized version is your record of what was approved.
To reopen a finalized proof, select "Send back for review". You see "Proof sent back for review", and reviewing continues.
4.8 Notifications
GoVisually sends email notifications for review events: an invitation to review, an approval, a request for changes, a new version, and reminders. Choose which events email you, and how often, in "My profile" → "Notifications". See chapter 1, section 1.6 for the full guide, including per-project snooze.
4.9 Suggested flow for CPG teams
- Designer uploads V1 and shares the project (chapter 5).
- Marketing, RA, and R&D review in parallel. Each adds comments and a decision.
- If anyone selects "Needs changes", the designer uploads V2. Decisions start fresh.
- Run the AI playbook on each new version before human review (chapter 8).
- When every stakeholder shows "Approved", the proof owner selects "Finalize this proof".
- Pre-press downloads the finalized version and runs PDF readiness.